March 12, 2023
ALI TECHNICAL ENGINEERING WORKSHOP
How to Install Floor Pans Without Welding
Floor pans are an essential component of any vehicle’s structural integrity. They provide a solid base for the car’s interior and ensure that passengers are safe while driving. However, over time, floor pans can become rusty or corroded, causing safety issues and the potential for serious damage to the car’s underside. While welding is often the go-to solution for replacing floor pans, not everyone has access to welding equipment or the necessary skills to use it. Fortunately, there are alternative methods for installing floor pans without welding. In this comprehensive guide, we will explore the steps and tools needed to successfully install floor pans without welding, as well as alternative methods to consider.

7 Comprehensive Steps for How to Install Floor Pans Without Welding
Here, we will go through the steps and tools needed to install floor pans without welding:
Tools and Materials Needed
You will need a few essential tools and materials to install floor pans without welding. Here is a list of everything you’ll need:
- Chisel and hammer: to loosen and remove the old floor pan.
- Wire brush: clean the area where the new floor pans will be installed.
- Automotive degreasing cleaner: to remove any oil, grease, or dirt from the surface.
- Measuring tape: to measure the dimensions of the new floor pans.
- Jigsaw or rotary tool: to cut the new floor pans to the proper size and shape.
- Drill: to create holes in the new floor pans for the bolts and nuts.
- Bolts and nuts: attach the new floor pans to the car’s frame.
- Caulk or silicone: to seal the joints and prevent water from seeping through.
Additionally, if you prefer not to use bolts and nuts, you can opt for a no-weld panel repair kit, which contains items like a panel flanger, dimpling pliers, compression pliers, blind holders, side grips, and panel adhesive. This kit provides an alternative method to welding, making it easier to install new floor pans without a welder.
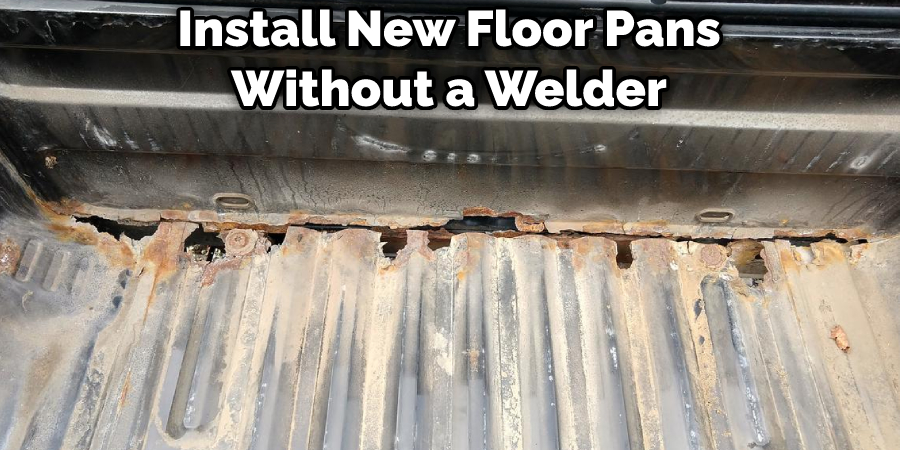
Step 1: Removing Old Floor Pans
The first step in installing new floor pans without welding is to remove the old ones. Here are the steps to remove old floor pans:
- Remove any seats, carpets, or trim covering the old floor pans.
- Use a chisel and hammer to loosen and remove the old floor pans. Be careful not to damage the surrounding area or the car’s frame.
- Use pliers to remove any remaining bolts or screws that held the old floor pans in place.
- Clean up any remaining rust or debris from the area.
If the old floor pans were welded in place, you may need to use a grinder or reciprocating saw to cut them out. Be careful not to cut into the car’s frame or surrounding areas.
After removing the old floor pans, it’s important to clean the area thoroughly before installing the new ones. Use a wire brush and an automotive degreasing cleaner to remove any oil, grease, or dirt from the surface. This will help the new floor pans adhere properly and ensure a long-lasting installation.
Step 2: Preparing the Area for Installation
After removing the old floor pans, the next step is to prepare the area for the installation of the new ones. Here’s how to do it:
- Clean the area: Use a wire brush and an automotive degreasing cleaner to clean the car’s surface where the new floor pans will be installed. This will ensure a good surface for the new floor pans to adhere to.
- Measure and cut the new floor pans: Use a measuring tape to measure the dimensions of the new floor pans. Mark the dimensions on the new floor pans and use a jigsaw or rotary tool to cut them to the proper size and shape. Be sure to double-check your measurements before cutting to avoid any mistakes.
- Drill holes: Use a drill to create holes in the new floor pans for the bolts and nuts. Make sure the holes line up with the holes in the car’s frame.
- Test fit the new floor pans: Before installing the new floor pans, place them into position and test fit them. Make sure they fit properly and align with the existing holes in the car’s frame.
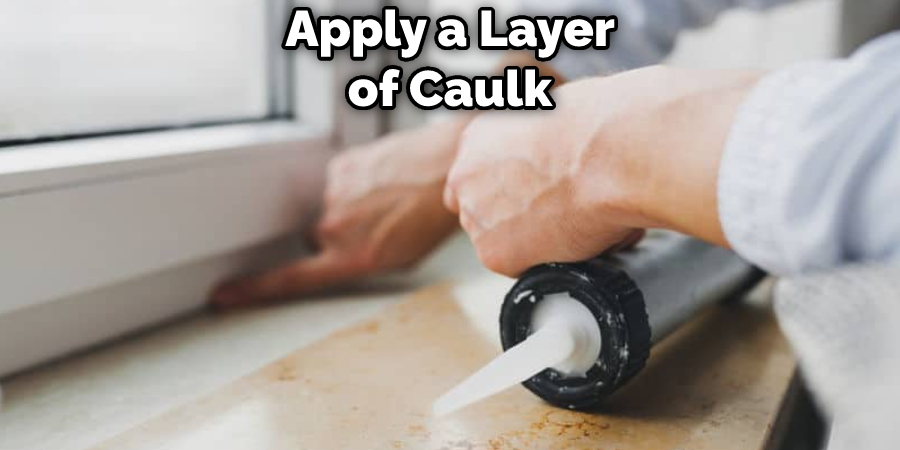
- Apply sealant: Apply a layer of caulk or silicone around the edges of the new floor pans to seal the joints and prevent water from seeping through. This will help to ensure a watertight seal and prevent any rust or damage from occurring.
Once you have prepared the area and the new floor pans, you are ready to install them. The next steps will guide you through the installation process.
Step 3: Installing New Floor Pans
Installing new floor pans can be done without welding. Here are the steps to follow:
- Position the new floor pans: Position the new floor pans onto the car’s frame and align them with the holes. Make sure they are level and centered.
- Secure the new floor pans: Once you have positioned the new floor pans, secure them into place using bolts and nuts. Tighten them evenly and gradually to avoid warping the floor pans.
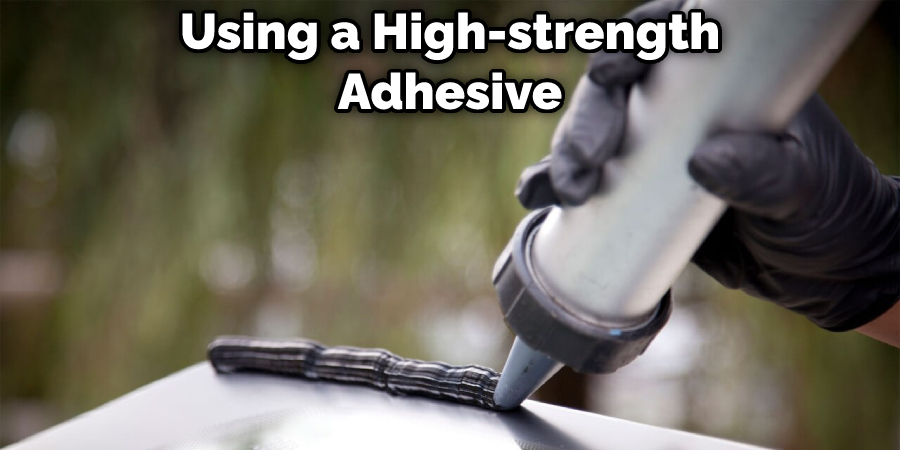
- Apply adhesive: Use a panel adhesive to secure the new floor pans to the car’s frame. Apply a liberal amount of adhesive to the area around the bolts and nuts to ensure a strong bond.
- Allow the adhesive to dry: The adhesive should be given time to dry completely before driving the car. This can take anywhere from a few hours to a full day, depending on the type of adhesive used. Be sure to check the manufacturer’s instructions for specific drying times.
- Finish up: Once the adhesive has dried, finish up by installing any trim pieces that were removed during the process. You may also want to add an additional layer of sealant around the edges of the new floor pans to prevent water from seeping through.
And that’s it! By following these steps, you should be able to install new floor pans without welding. It may take some time and effort, but the end result will be a sturdy and safe car floor that is free of rust and damage.
Alternative Methods for Floor Pan Installation
While installing floor pans without welding can be an effective method, there are alternative methods for floor pan installation that may be worth considering. Here are a few options:
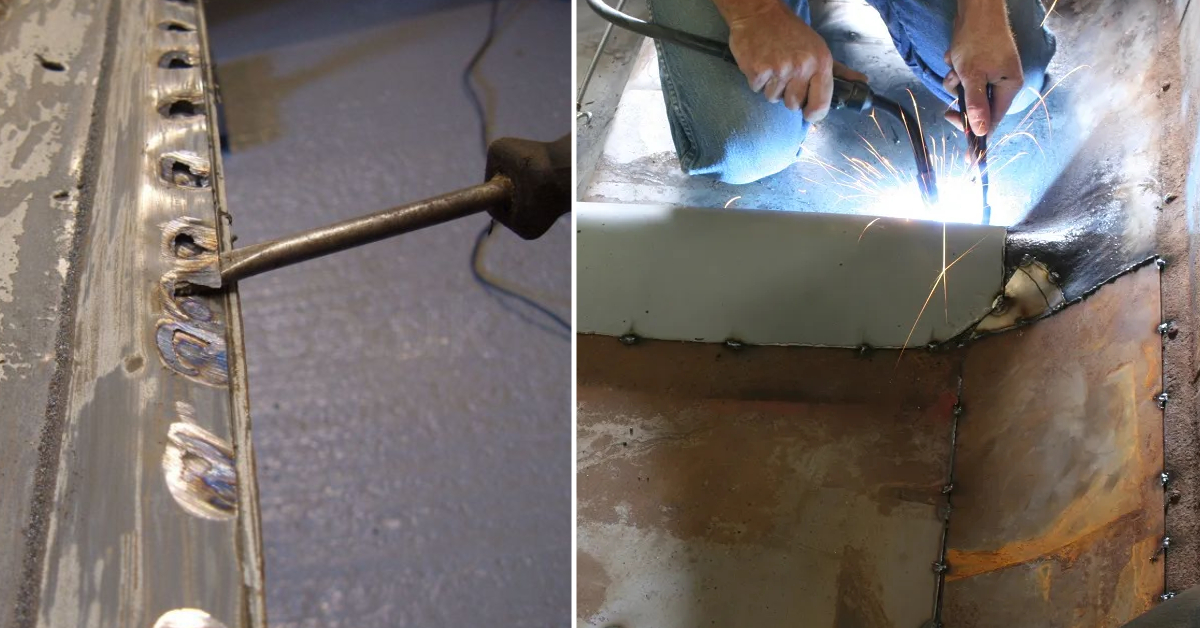
- Welding: Welding is the traditional method of installing floor pans, and it involves welding the new floor pans directly onto the car’s frame. This method can be more time-consuming and require specialized equipment, but it can provide a more secure and long-lasting result.
- Adhesive-only method: Some adhesive-only methods involve using a high-strength adhesive to attach the new floor pans directly to the old ones. This method can be faster than the bolt-and-nut method, but it may not be as strong or durable.
- Professional installation: If you don’t feel comfortable installing new floor pans on your own, you can always hire a professional to do the job for you. This can be a more expensive option, but it can provide peace of mind and ensure that the job is done correctly.
Ultimately, the best method for installing new floor pans will depend on your specific needs and preferences. It’s important to consider factors such as cost, time, and the level of expertise required before making a decision.
FAQs About How to Install Floor Pans Without Welding
What Can I Use Instead of Welding?
If you need to join metal to metal but cannot or do not want to use welding, there are alternative methods available. Adhesives, such as epoxy, can provide a reliable and durable bond, as long as the joint design is considered. Brazing is another effective alternative to welding that creates a solid mechanical bond between the metals and can be performed at a lower temperature. Ultimately, the method you choose will depend on your specific application and needs.
What is the Cheapest Welding Method?
Stick welding is generally considered the cheapest welding method, as it requires minimal equipment and can be done with relatively low-cost materials. However, the weld quality may not be as good as other techniques. MIG welding is also a popular method that can achieve strong welds, but it requires sourcing, storing, and using cylinders of inert gas. The best welding method for beginners or for those on a budget will depend on the type of metals to be welded and the available budget.
What is the Cheapest Way to Weld?
Stick welding is considered the cheapest way to weld as it relies on minimal equipment. However, the weld quality may not necessarily be the best. Other methods such as MIG welding and arc welding are also popular but may require more equipment and skill.
What is the Strongest Glue for Metal to Metal?
Epoxy is usually considered the best glue for metal-to-metal joints, and it is the strongest adhesive for forming metal-to-metal connections. Epoxy for metal comes in two parts, a resin, and a hardener, and they need to be mixed together to create a strong and long-lasting bond between metal kinds or between metal and concrete surfaces. HG Power Glue is also cited as an industrial-grade CA glue that can glue 93% of all materials, including metal to metal or metal to other surfaces.
Conclusion
Installing new floor pans without welding can be an effective and relatively straightforward method for repairing a car’s flooring. By following the steps outlined in this guide and using the right tools and materials, you can successfully install new floor pans and restore your car’s structural integrity. However, it’s important to keep in mind that there are alternative methods for floor pan installation, such as welding or hiring a professional, that may better suit your needs. Whatever method you choose, proper installation and maintenance of your car’s flooring are crucial for ensuring its safety and longevity.